Wedding Invitation Wording
Wedding invitation wording & etiquette
Congratulations, you’re newly engaged! The wheels are turning as you think about details surrounding the big day: what colors you want to incorporate, if you want a band or a DJ, plated meal or buffet, indoor or outdoor venue, and everything in between.
Now that we’ve covered how to prepare for the invitation process and you’ve decided what printing method and style you like best, let’s go a little deeper on the topic of wedding invitations.
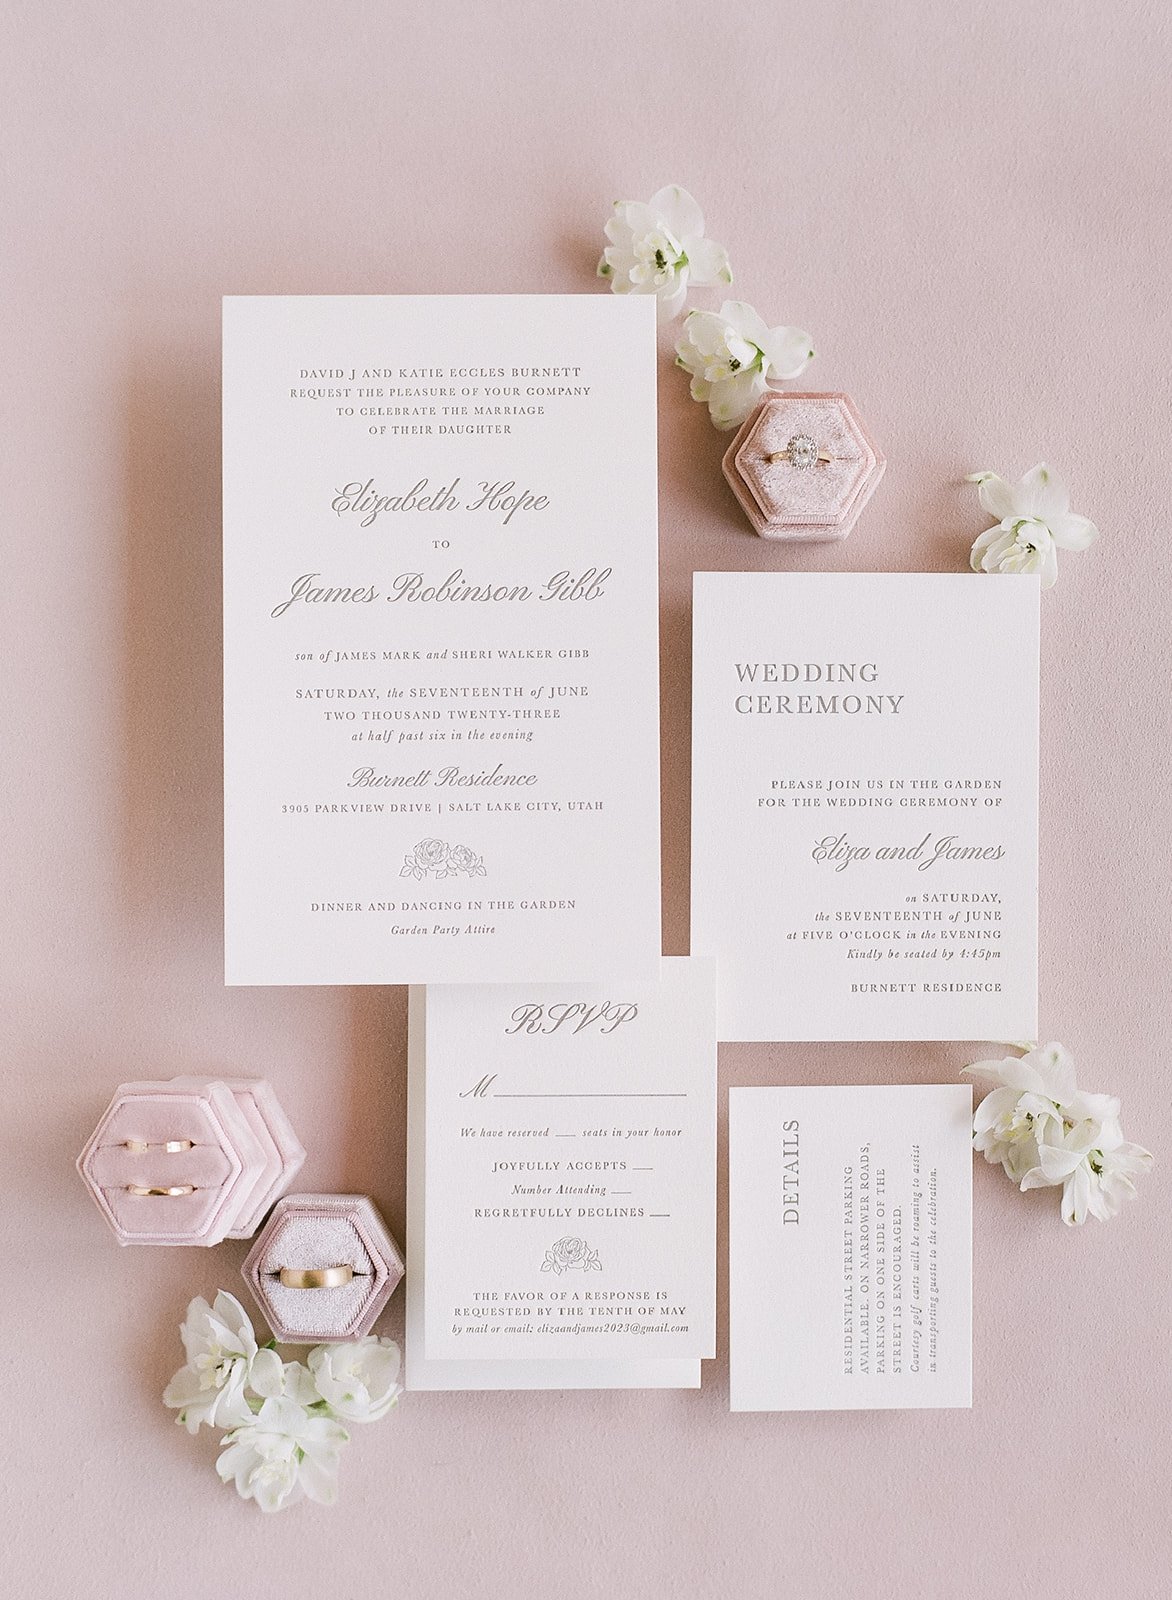
Have you considered how your invitations will provide your guests with the very first impression they’ll have of your event? That simple piece of paper will give them all the information they need to know. Beyond where to be and when to be there, your invitations will inform guests what kind of party you’re having and will help them determine if this is a formal celebration or a more casual but cool party.
Once you’ve decided on a visual style, you need to put together the body copy of the invitation. There are many ways to word an invitation, some more formal than others, so you’ll also want to select a copy style that compliments the visual style of your invitation and event.

Consider who is hosting the party. The hosts should be the ones to announce the marriage on the invitation. For example:
Mrs. and Mrs. Robert Caldaway announce the marriage of their daughter,
Jeanette Marie Caldaway
to
Anthony Brian Wicks
If announcing yourselves as a couple is more appropriate for your style, go for it! For example:
Jeanette Marie Caldaway
&
Anthony Brian Wicks
Invite you to join them in a celebration of their marriage
Once the verbiage is complete, make sure to proofread, proofread, proofread! Double-check important details such as date, time, location and address. You only get one chance to send your wedding invitations and you don’t want to misinform your guests!

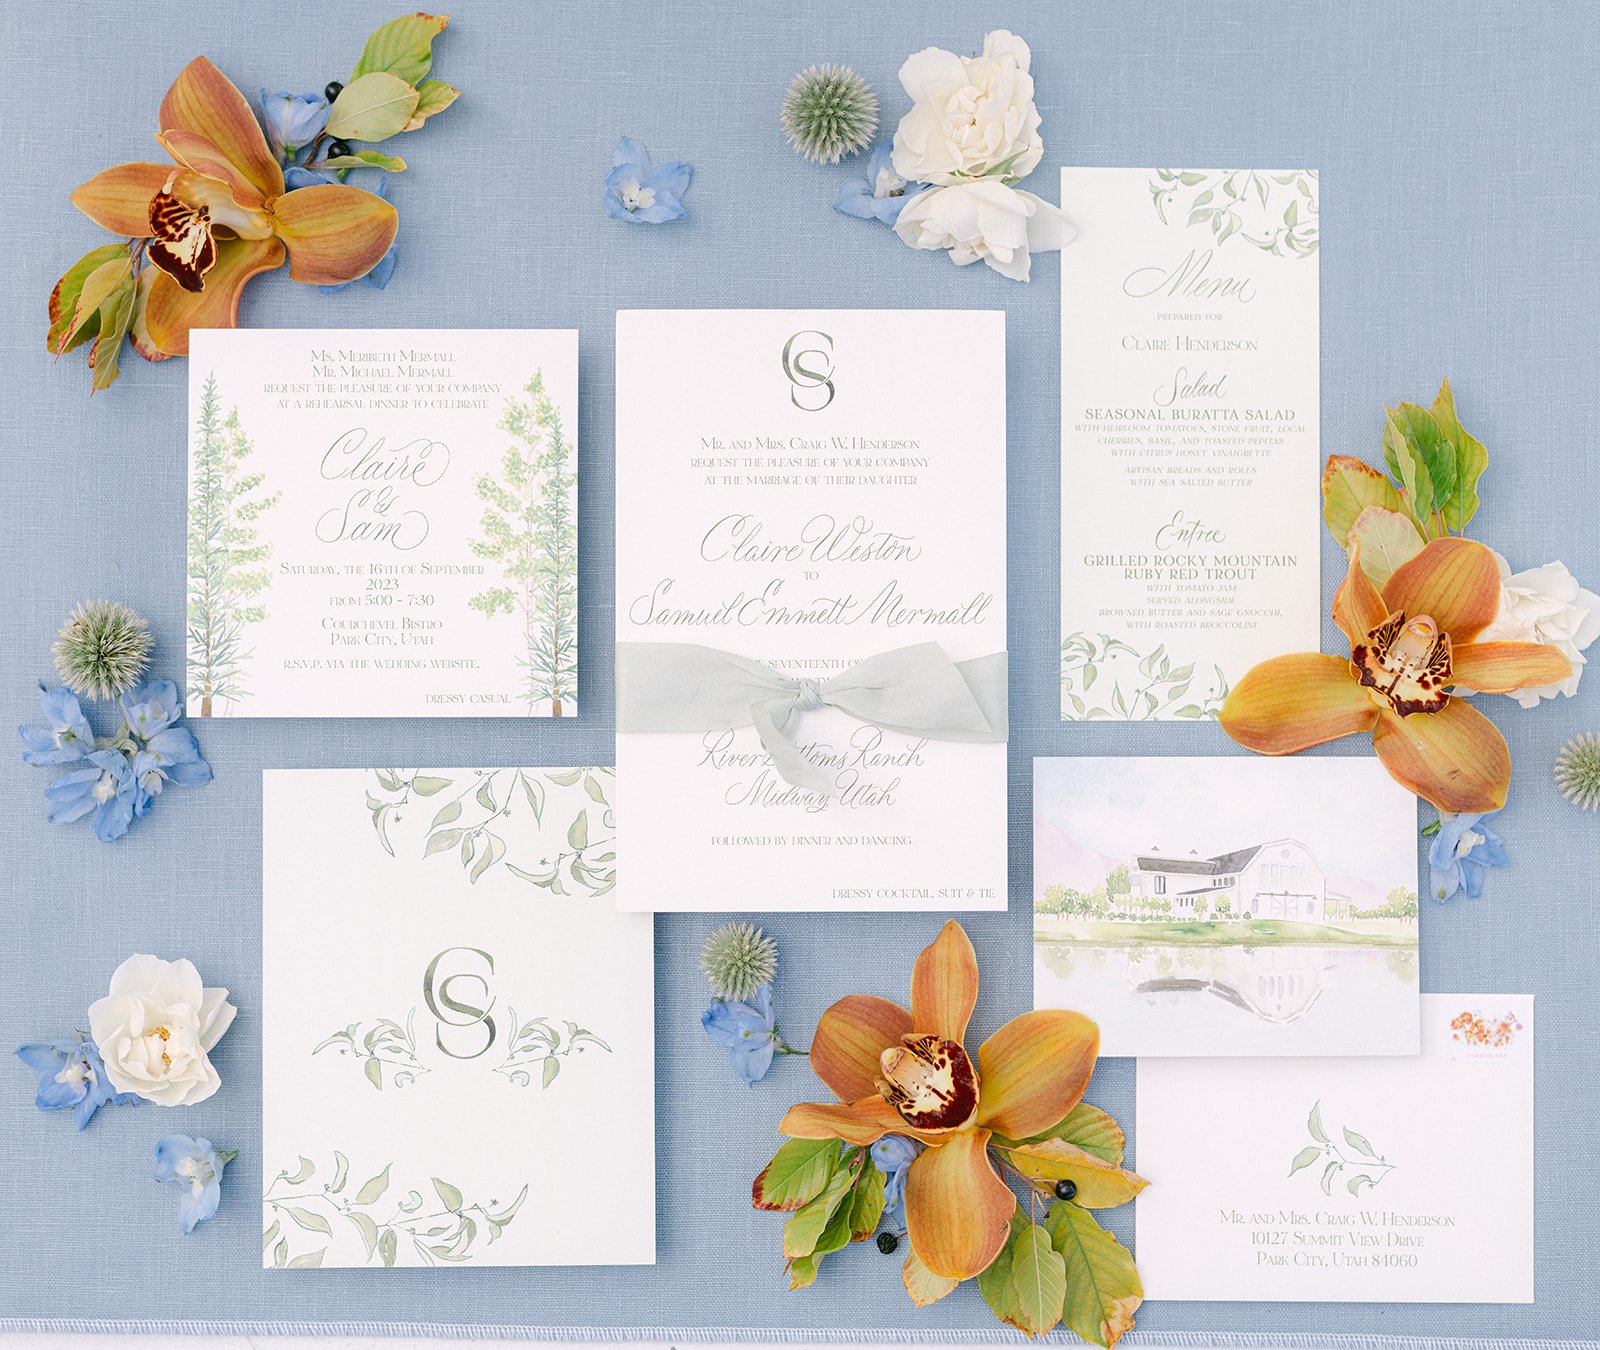
As you begin thinking about your main announcement, make a checklist of the items you will want to include within your invitation suite. For example, the following pieces are common enclosures:
RSVP/ Response card: The number of response cards received will help you determine your final guest count for the event (a number all wedding vendors depend on to accurately quote and perform services).
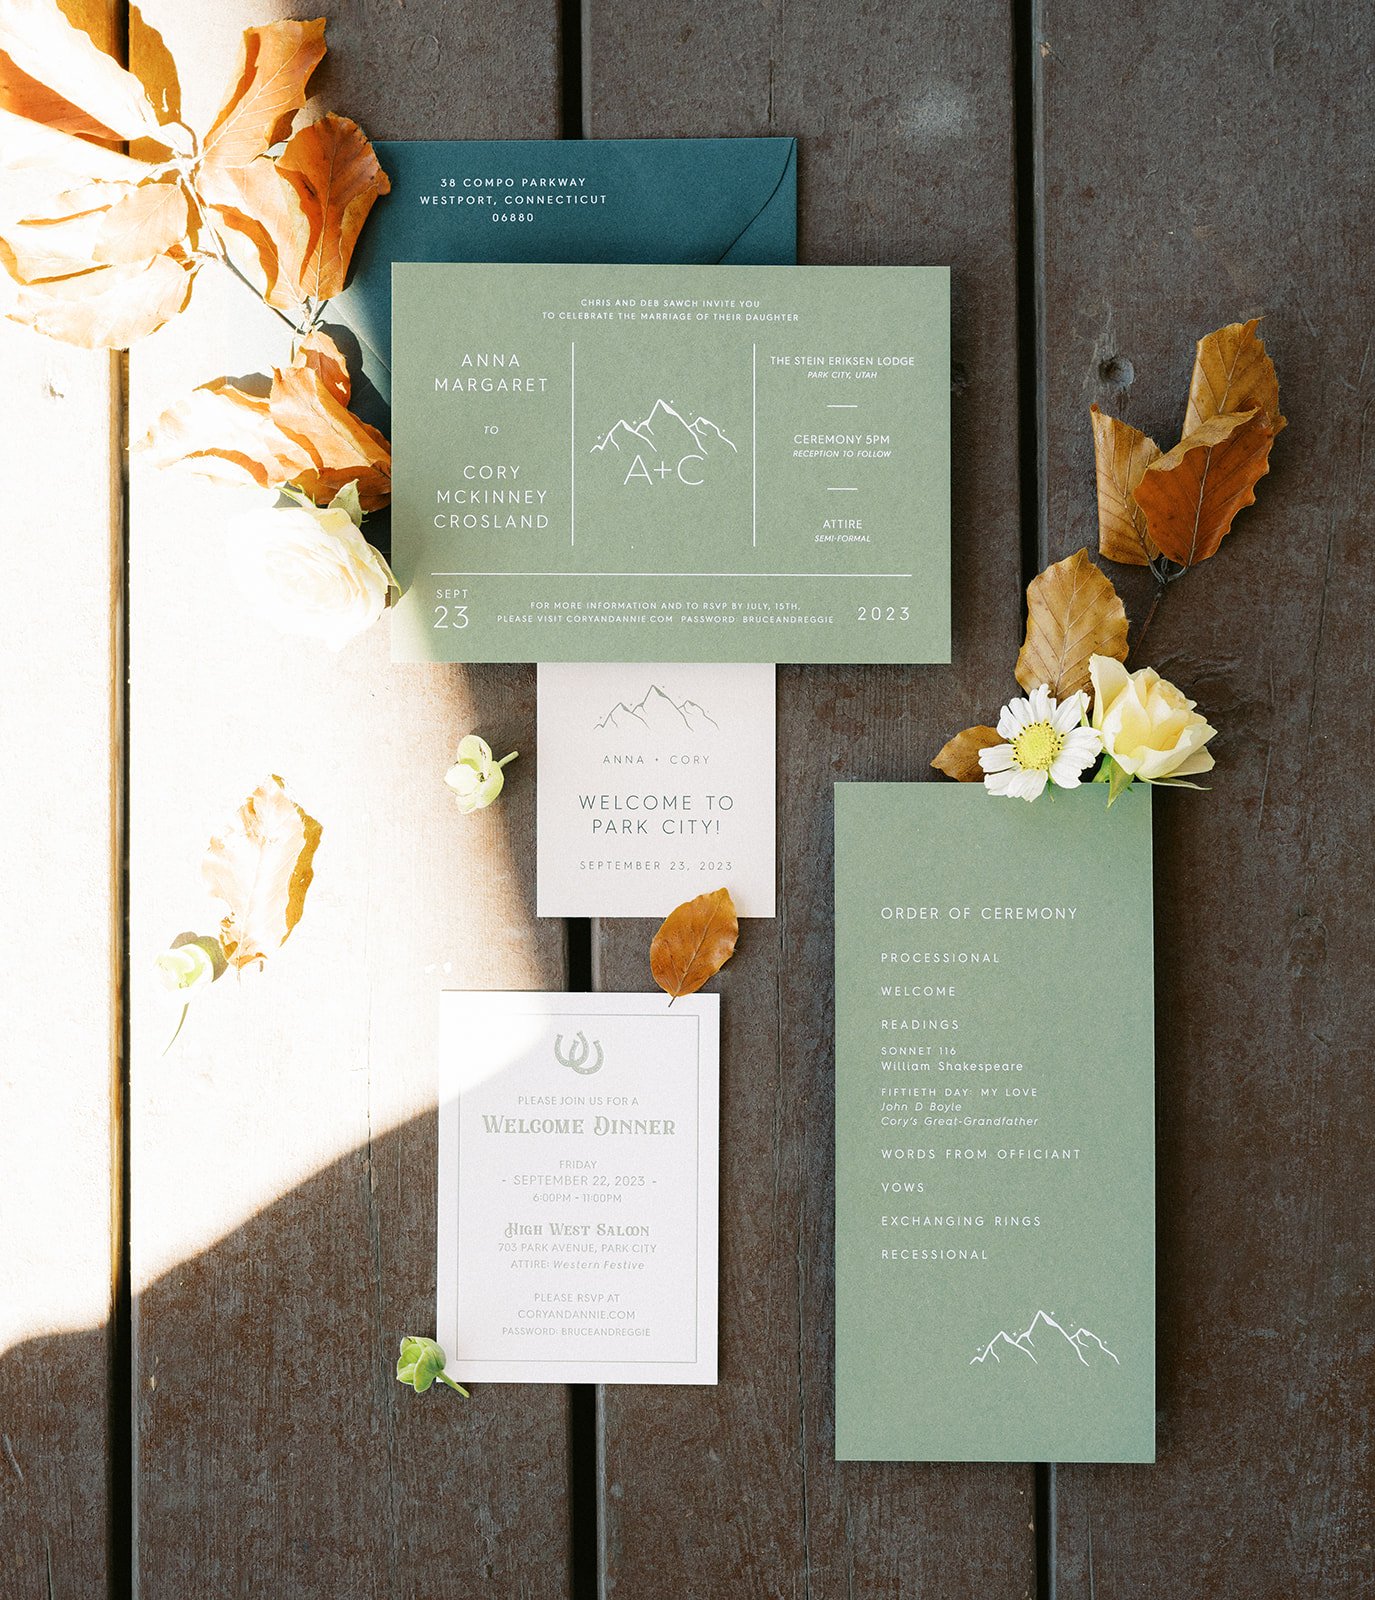
Directional card/ Map of the venue: While not necessary for all celebrations, a directional card or map can be very helpful for your destination guests who aren’t familiar with the area.
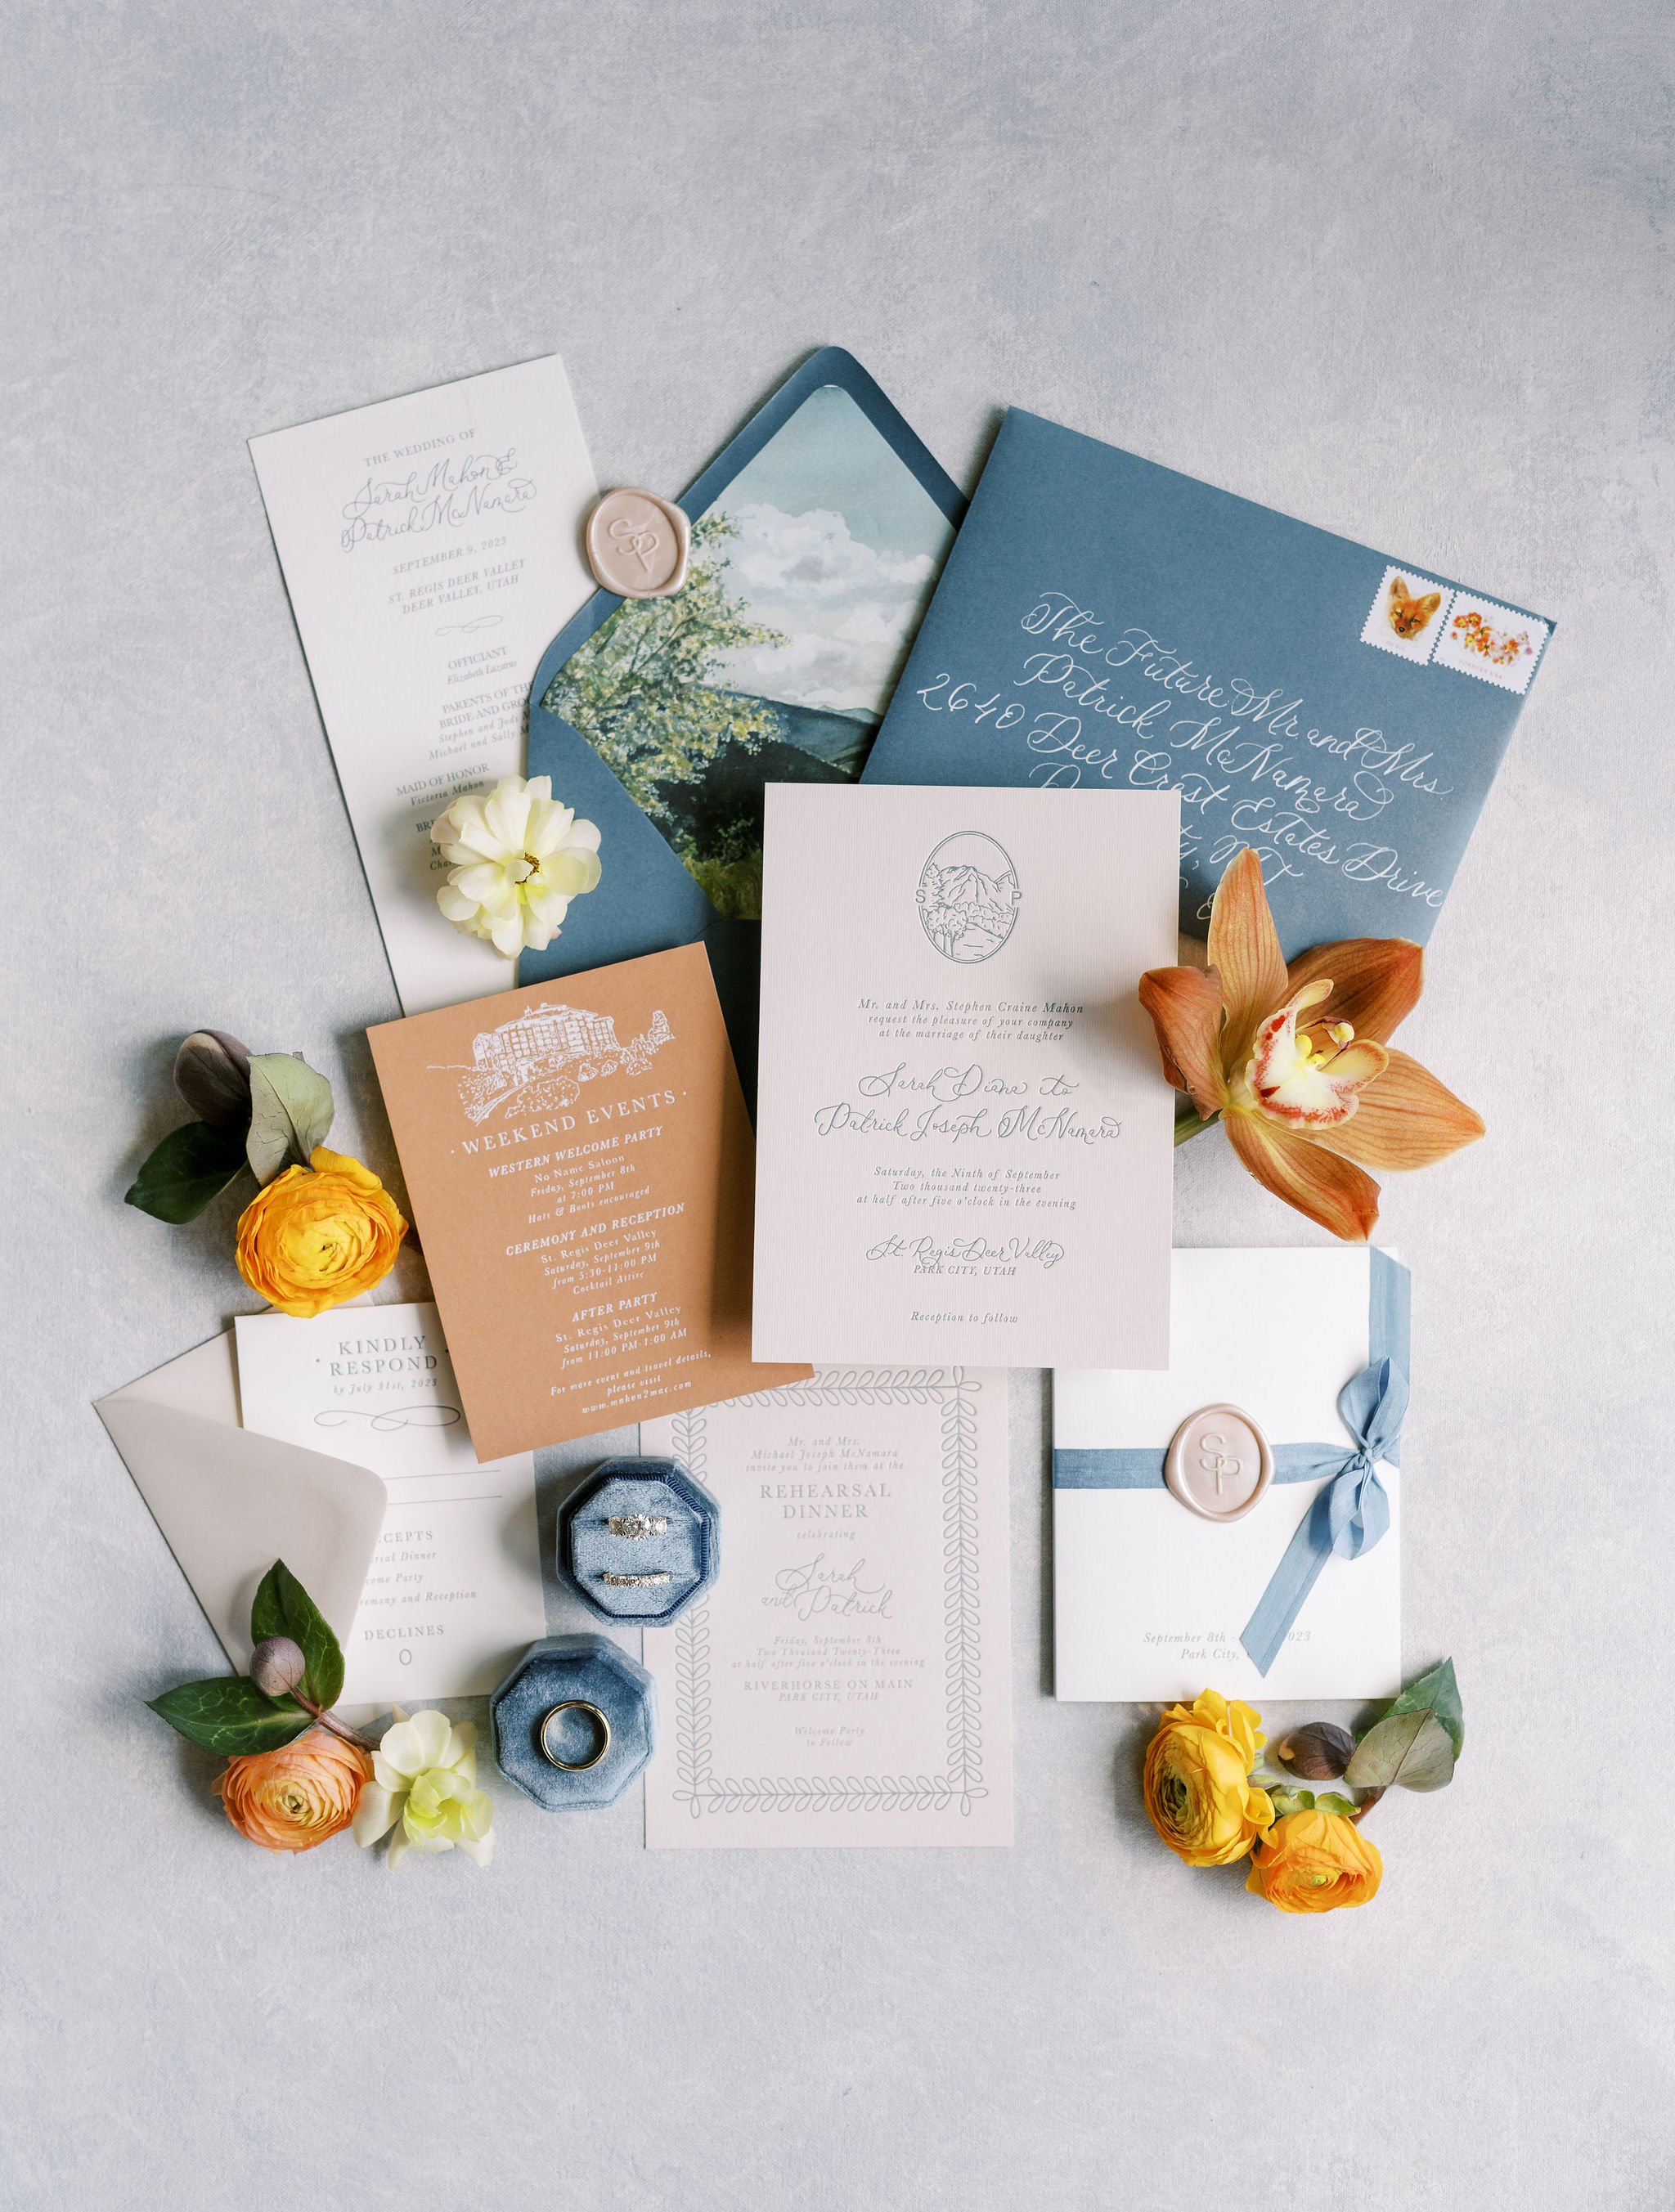
Details card: If your celebration includes more than one event (rehearsal dinner, welcome cocktail party, farewell brunch and/or any additional guest activities) including a details card is a great idea. However, if you feel your suite includes too many inserts, you can always provide additional wedding details via a wedding website. In which case, you would include your website on one of the other inserts within the suite.
One of our favorite invitation experts, Kacey from Twelve30 Creative, shares “If you are planning a wedding weekend, a details card is a must. Listing all of your events will serve as a formal invitation to them instead of just a passing mention on your website. The details card is also a good reminder of everywhere your guests need to be prior to the weekend, especially if they haven’t checked your website in a while.”Envelopes: If your invitations have more of a formal vibe, you may want to consider including an inner envelope in addition to the main envelope. If you’re including a traditional RSVP card, you’ll need to include a self-addressed, pre-stamped envelope so guests can easily send you their response with intent to attend/not attend.
Addressing: Consider whether or not you prefer to have guest addresses printed on the outside envelope or if you prefer the look of calligraphy. Double-check your address list to correct any errors before giving your list to your invitation vendor and/or calligrapher. Don’t procrastinate too long locating a calligrapher to address your envelopes. This is done by hand and requires a great deal of time and care. If you wait too long, you might risk the possibility of getting your invitations out too late and paying rush fees for a calligrapher's services.
Postage: Make sure to have the post office weigh your invitation suite as the weight will determine what amount of postage is necessary to mail each invitation. Try to select postage the compliments the overall style of your invitation. Or, work with your invitation vendor to custom design postage for an exact match.
Couples often ask what an appropriate time frame is to mail invitations. Traditionally, invitations can be mailed anywhere from 6-8 weeks prior to the event with RSVPs due back four weeks before the event date. If your planning style is such that you prefer a little extra time to adjust certain details once you know the final guest count of the event, plan to mail your invitations 8-10 weeks in advance and request a response 6 weeks of the event.
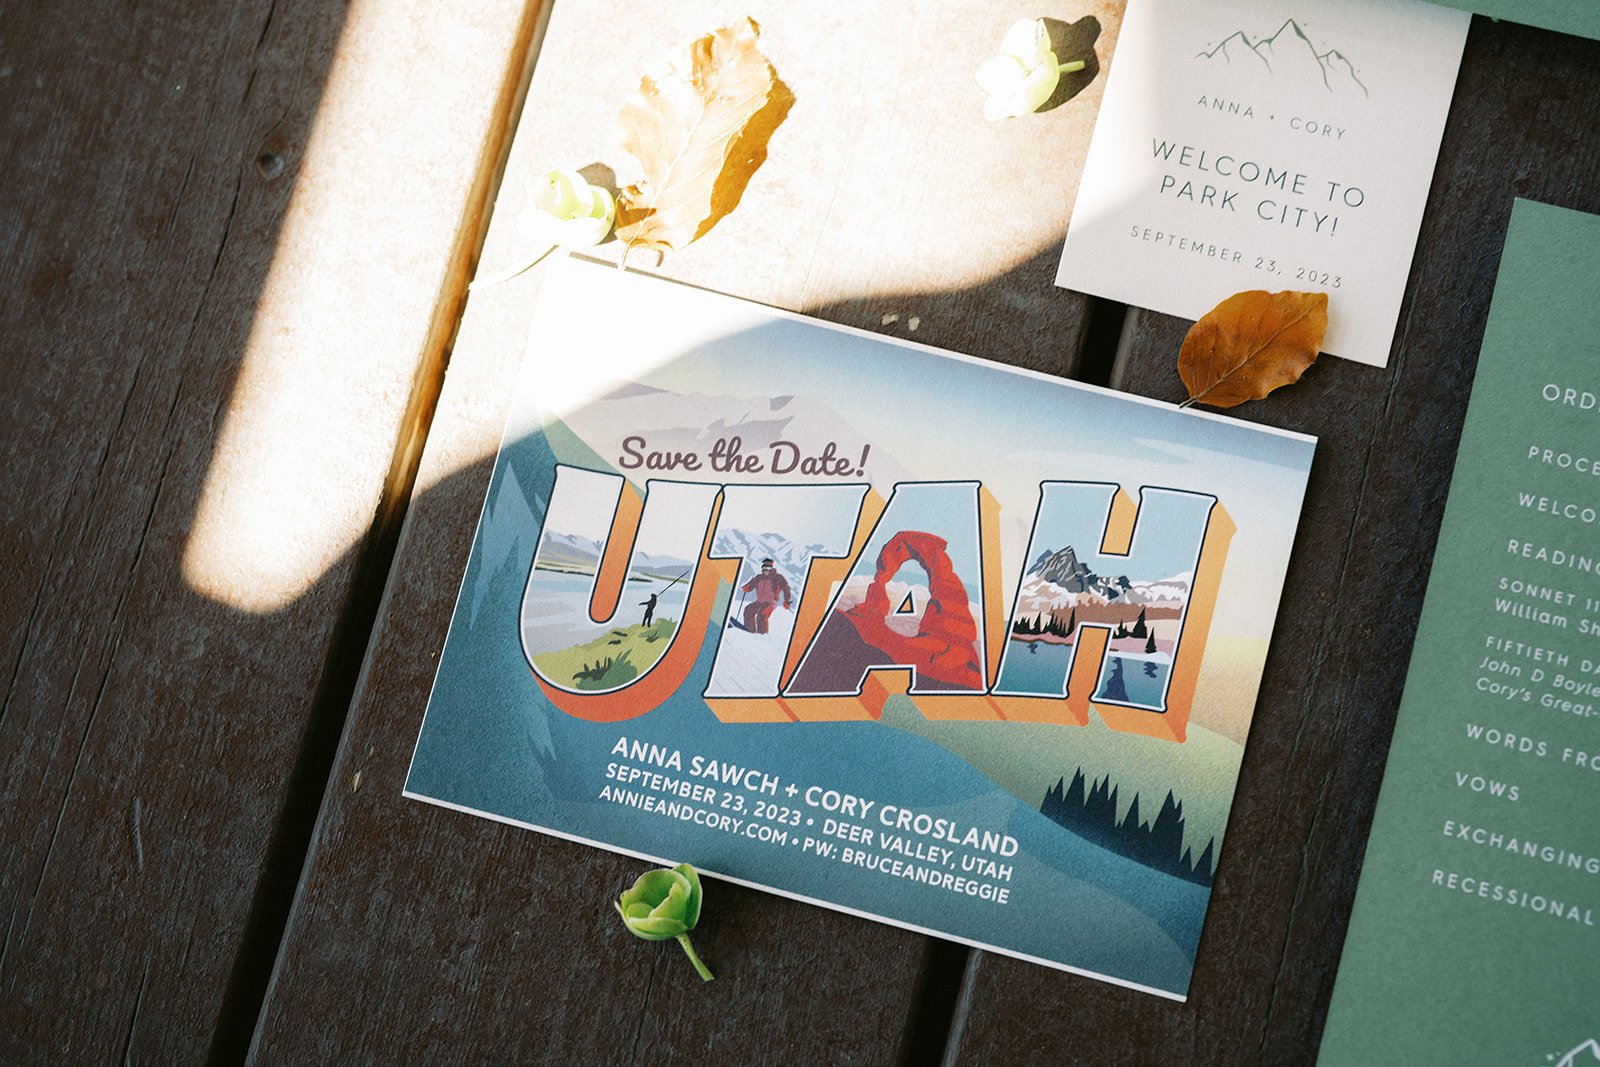
If you’re planning a destination wedding, consider sending out Save the Date cards early so guests have time to plan ahead. Be mindful of the fact that traveling to a destination wedding requires pre-planning for your guests such as budgeting and making arrangements for flights, transportation, lodging and sometimes childcare. By sharing the date and location of your event on the Save the Date cards, your guests will have more time to think through their travel plans as opposed to waiting until they receive the formal invitation.
Remember, invitations set the tone for your entire wedding day or weekend, so we hope these tips set you up for success!
Interested in having the MLE planning experts on your wedding dream team? Contact us HERE and let’s get started!